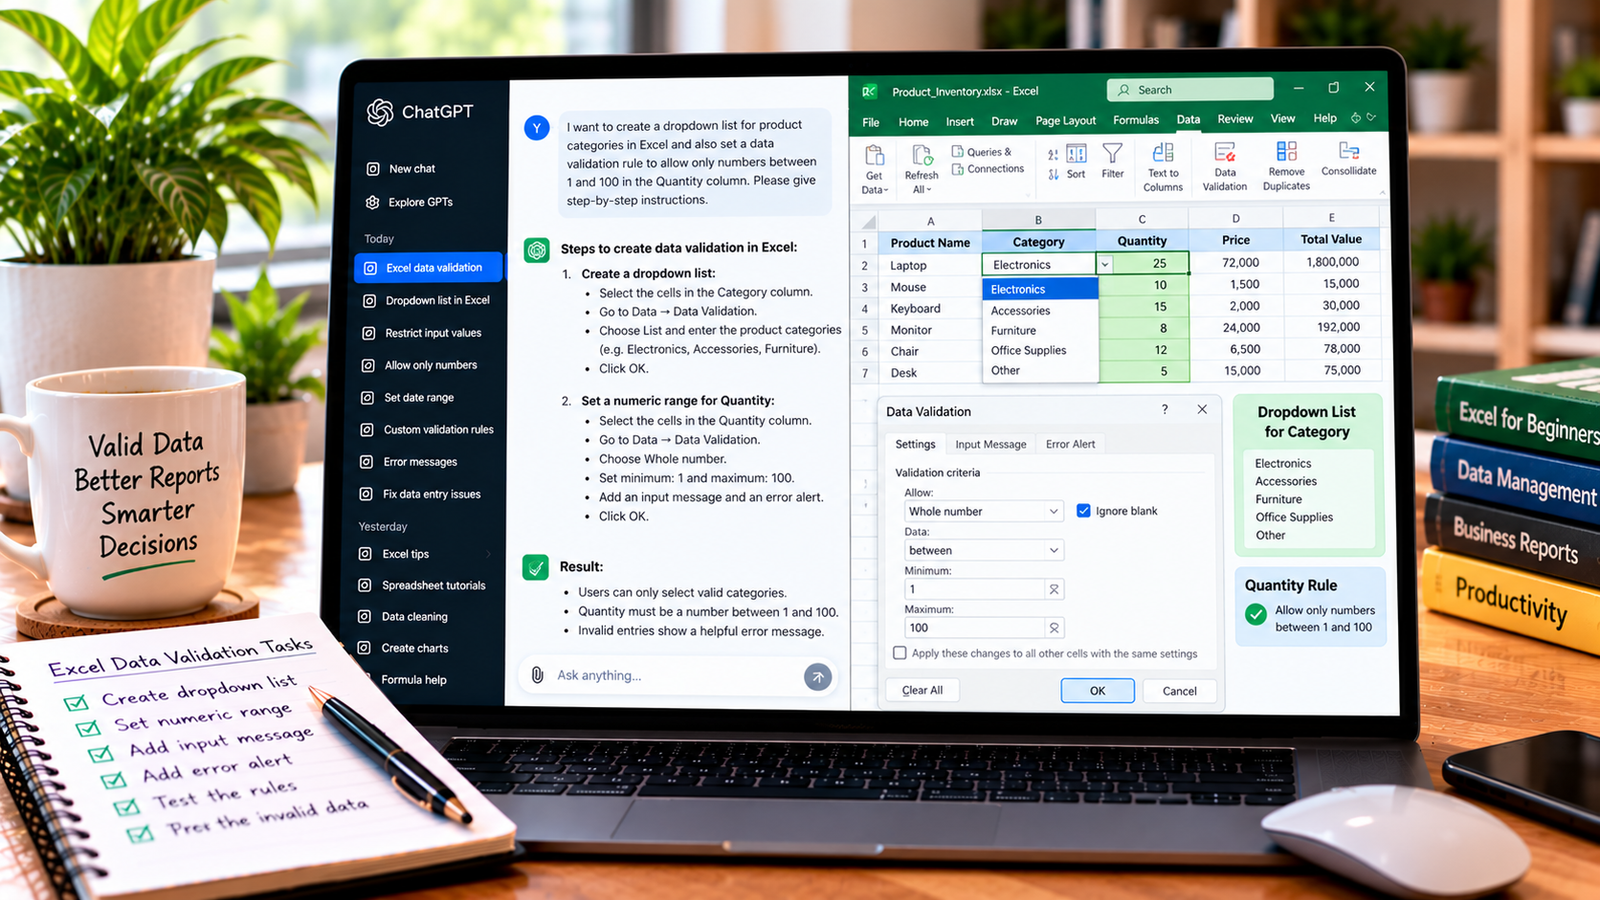
Excel Data Validation Workspace
Excel drop-down lists make spreadsheets easier to use by allowing people to select from predefined options instead of typing values manually. They are useful for customer forms, inventory sheets, sales reports, employee records, and task trackers.
With ChatGPT, you can learn how to create drop-down lists, set data validation rules, restrict invalid entries, and troubleshoot common problems in Microsoft Excel.
This step-by-step guide explains how to create simple and dependent drop-down lists, use ChatGPT to generate formulas, and keep your spreadsheet data consistent.
What Is an Excel Drop-Down List?
An Excel drop-down list is a cell control that lets users select a value from a list of available options. It is usually created through Excel’s Data Validation feature.
For example, an inventory spreadsheet might use a drop-down list for product categories:
- Electronics
- Accessories
- Furniture
- Office Supplies
- Other
Instead of entering category names manually, users select an option from the list. This reduces spelling differences and makes filtering and reporting more reliable.
ChatGPT can explain the steps, suggest suitable options, and help you troubleshoot data validation formulas. You will generally create the drop-down list in Excel itself.
Step 1: Prepare Your Excel Spreadsheet
Start with a simple inventory table.
| Product Name | Category | Quantity | Price |
|---|---|---|---|
| Laptop | Electronics | 10 | 72,000 |
| Mouse | Accessories | 25 | 1,500 |
| Office Chair | Furniture | 5 | 18,000 |
| Printer | Electronics | 8 | 24,000 |
The values are examples. You can use the same approach for your own spreadsheet.
Before adding a drop-down list, decide which column needs predefined options. In this example, the Category column is a good choice because it should use a consistent set of labels.
You may also create a separate worksheet named Lists to store your category options. Keeping the list separate makes it easier to update later.
Step 2: Ask ChatGPT for Instructions
Explain your spreadsheet structure and the result you want.
Use this prompt:
“Act as a Microsoft Excel expert. I have an inventory spreadsheet with Product Name, Category, Quantity, and Price columns. Explain how to create a drop-down list in the Category column with the options Electronics, Accessories, Furniture, Office Supplies, and Other. Give me step-by-step instructions using Data Validation.”
ChatGPT can provide a walkthrough and explain the purpose of each setting. If your Excel interface uses slightly different labels, follow the equivalent Data Validation options in your version.
Step 3: Create a Basic Drop-Down List
Follow these steps in Microsoft Excel:
- Select the cells where users should choose a category, such as B2.
- Open the Data tab.
- Select Data Validation.
- In the Settings tab, find the Allow menu.
- Choose List.
- Enter the available options in the Source field, separated by commas, or select a range containing the options.
- Make sure the in-cell drop-down option is enabled.
- Click OK.
For a short list, you can enter the options directly in the Source field:
Electronics,Accessories,Furniture,Office Supplies,Other
For a longer list, it is usually easier to store the options in cells and use that range as the source.
After creating the rule, select one of the cells in your chosen range and check that the drop-down arrow appears.
Important: Some Excel regional settings use semicolons or other list separators in formulas and direct-entry lists. If Excel rejects the source, use the appropriate separator or select a worksheet range instead.
Step 4: Store Drop-Down Options on a Separate Sheet
A separate list is helpful when several cells or worksheets need to use the same options.
- Add a worksheet and name it
Lists. - Enter the category options in cells A1.
- Return to your inventory worksheet.
- Select the cells that need the drop-down list.
- Open Data > Data Validation.
- Choose List under Allow.
- Set the Source to the category range on the Lists worksheet.
- Confirm the settings.
About the Author